Skip to content
A WORKSHOP TO PASS ON · ROPE AND HAND SKILLS

The Knot Workshop

Handle a real rope, understand how it travels, repeat the movement with your hands, then use the knot in a practical project.

Read a rope

Choose a word, then point to the correct part directly on the rope.

The rope changes colour halfway along so its path is easier to follow.

Which knot should you choose?

One situation, several genuine knots. Even a wrong answer should teach you something useful.

SITUATION 1

I want a fixed loop that will not tighten under tension.

Choose the knot that seems best suited to the situation.

SITUATION 2

I want a clear stopper knot at the end of a rope.

Choose the knot that seems best suited to the situation.

SITUATION 3

I want to fasten a rope quickly around a post.

Choose the knot that seems best suited to the situation.

SITUATION 4

I want to join two thin cords using two small opposing knots.

Choose the knot that seems best suited to the situation.

SITUATION 5

I want to learn the knot used as the basis of many macramé bracelets.

Choose the knot that seems best suited to the situation.

Learn by doing

Follow the sequence with a real rope, then compare the shape in your hands with the finished knot.

LOOK · TRY · CHECK

Overhand knot

A basic stopper knot and the simplest way to understand a loop, a pass and tightening.
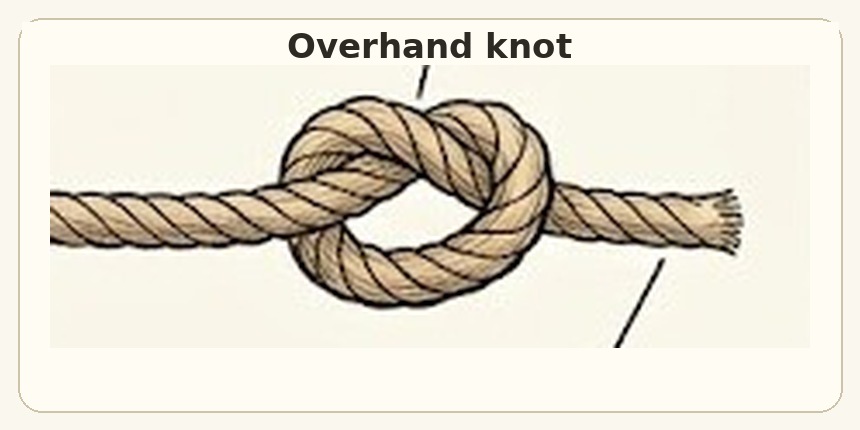
  1. Make a loop by crossing the working end over the standing part.
  2. Pass the working end through the loop.
  3. Pull both sides steadily and dress the knot neatly.
Very easy to tie, but it can jam tightly after a heavy load.
Finished Overhand knot
LOOK · TRY · CHECK

Figure-eight knot

A larger, distinctive stopper knot that is easy to recognise.
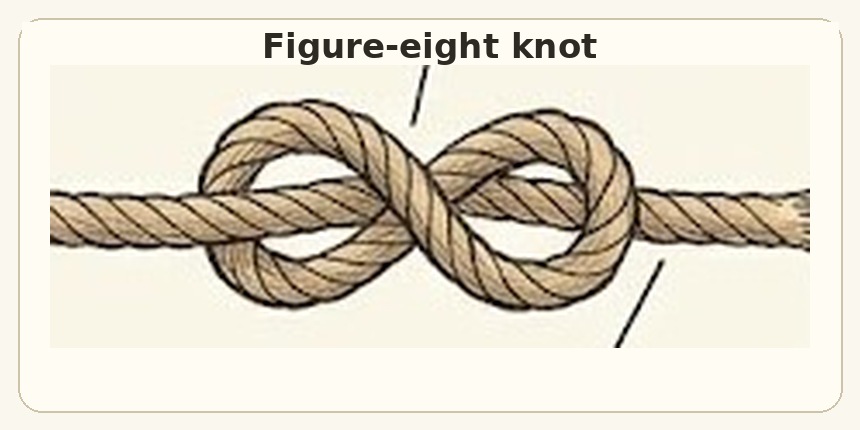
  1. Make a loop with the working end.
  2. Take the working end around the standing part.
  3. Bring it back through the original loop and tighten into a clear figure eight.
The finished knot should clearly look like the number 8, without messy overlaps.
Finished Figure-eight knot
LOOK · TRY · CHECK

Bowline

It creates a fixed loop that keeps roughly the same size when tied correctly.
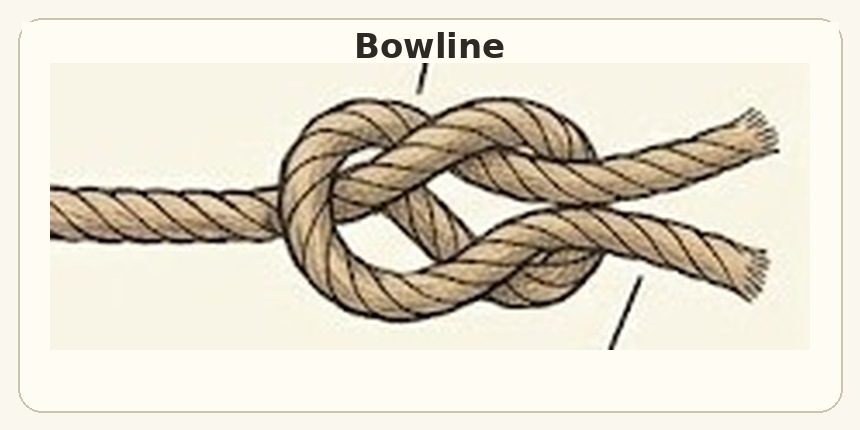
  1. Make a small loop in the standing part.
  2. Bring the working end up through the loop.
  3. Take it around the standing part, then back down through the small loop and tighten.
Memory aid: the rabbit comes out of the hole, goes around the tree and back down the hole.
Finished Bowline
LOOK · TRY · CHECK

Clove hitch

It is used to fasten a rope quickly around a post, rail or similar support.
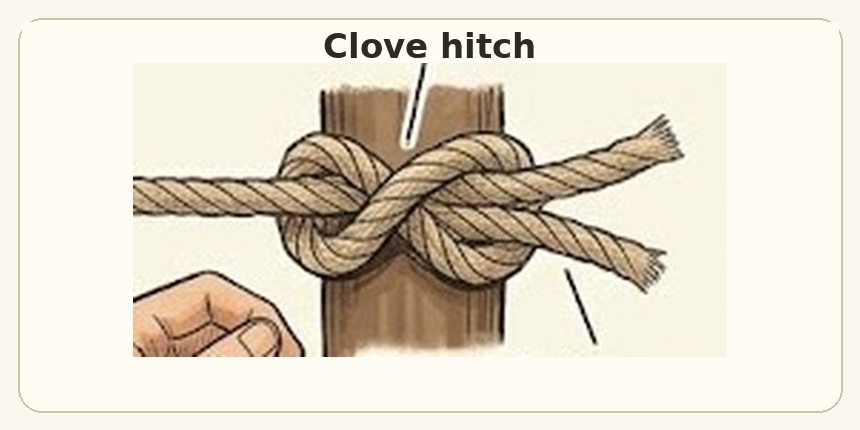
  1. Wrap the rope once around the post.
  2. Make a second wrap so it crosses over the first.
  3. Tuck the working end under the crossing turn and tighten both sides.
Quick and adjustable, but its grip depends on the support and on how the load changes.
Finished Clove hitch
LOOK · TRY · CHECK

Simple slip knot

It introduces an adjustable loop or sliding closure around the standing part.
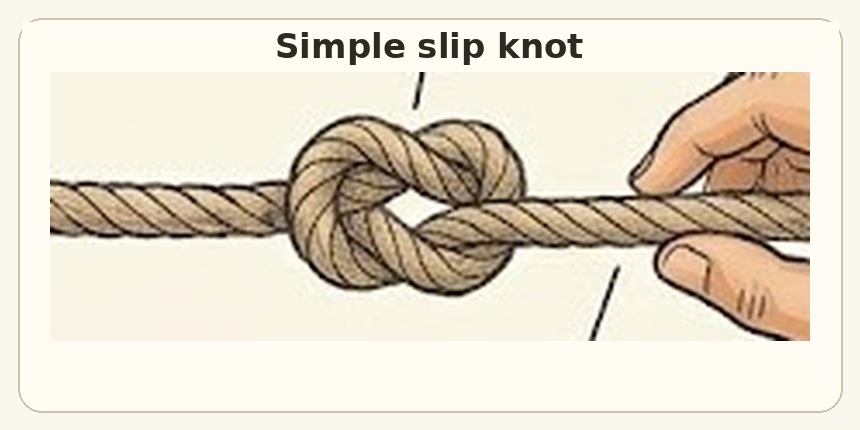
  1. Cross the rope to make a loop.
  2. Form a bight with the working end.
  3. Pull that bight through the loop; pull the standing part to adjust the sliding loop.
Particularly useful for bracelets and small adjustable objects.
Finished Simple slip knot
LOOK · TRY · CHECK

Fisherman's knot

Two opposing overhand knots slide together to join two small cords.
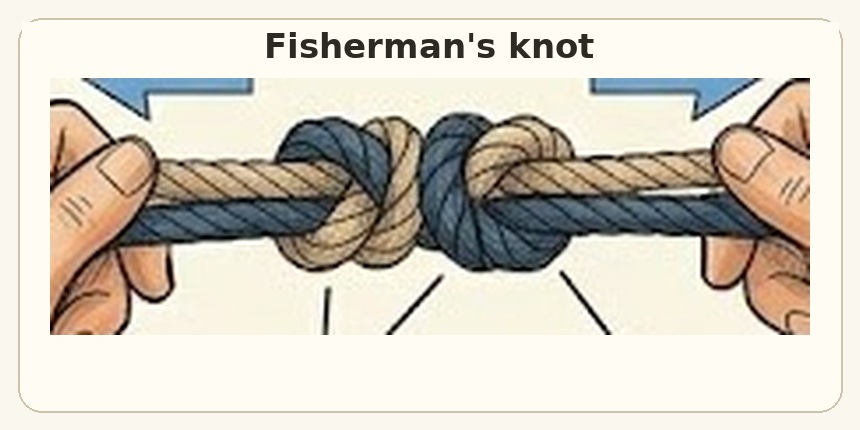
  1. Overlap the two cords so their ends point in opposite directions.
  2. Tie an overhand knot with the first end around the other cord.
  3. Repeat with the second end, then pull the standing parts so the two knots meet.
Here it is taught as a joining principle, not as a safety knot for critical loads.
Finished Fisherman's knot
LOOK · TRY · CHECK

Square knot

Two opposite half-knots: left over right, then right over left. A basic macramé knot.
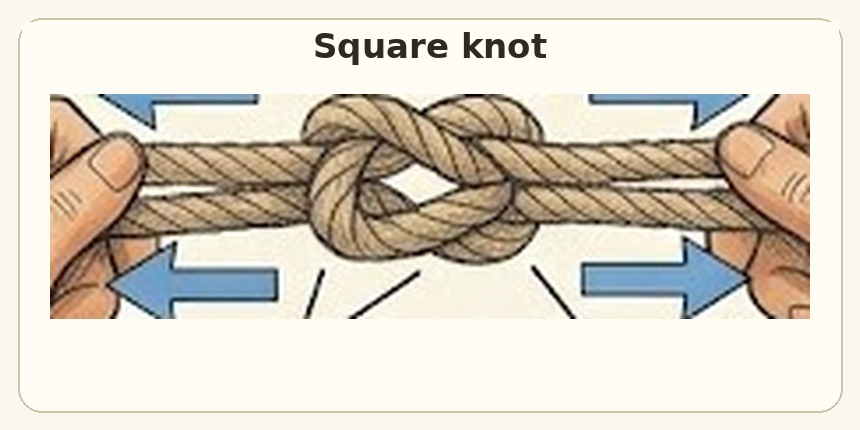
  1. Cross the left working cord over the right and tuck it underneath.
  2. Then cross the right working cord over the left and tuck it underneath.
  3. Pull evenly on both sides to form a flat, symmetrical knot.
If you repeat the same side twice, you make a granny knot rather than a square knot.
Finished Square knot

Project of the month

This month, the knots become a bracelet you can actually wear.

PROJECT 01 · MACRAMÉ BRACELET

Choose your version

The illustration shows the finished idea; the written guide gives you the full sequence step by step.
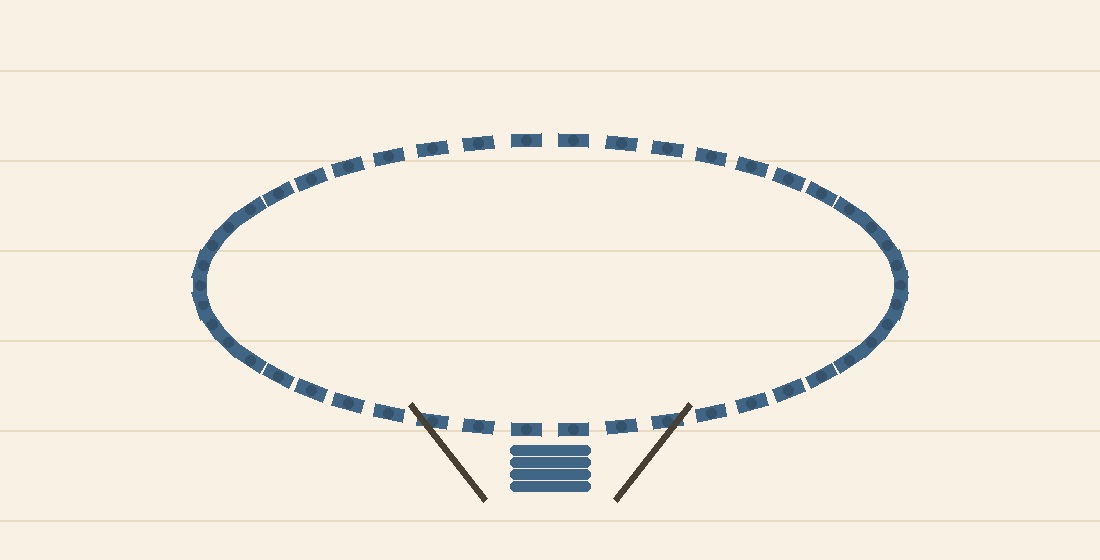
Adjustable macramé bracelet with square knots

The steps in words

  1. Prepare the core cord. Cut a piece about 40 cm long and secure it at the top and bottom so it stays lightly tensioned.
  2. Add the working cord. Take about 1.5 m of cord, pass it under the core and centre it so one working end is on each side.
  3. First half-knot. Bring the left cord over the core to make a “4”. Pass the right cord over the left end, under the core and out through the loop of the “4”. Tighten gently.
  4. Second half-knot. Mirror the movement: bring the right cord over the core, then pass the left cord underneath and out through the loop. Tighten to the same tension.
  5. The square knot is complete. Repeat left then right until the bracelet reaches the length you want.
  6. Try it on. Leave a little ease around the wrist and stop weaving when the length feels right.
  7. Make the adjustable closure. Cross the two core ends and tie a few square knots around both crossed cords with a separate short cord.
  8. Secure the ends. Finish each end with a small stopper knot or a bead so it cannot slide out of the closure.

Remember: left then right = one complete square knot.
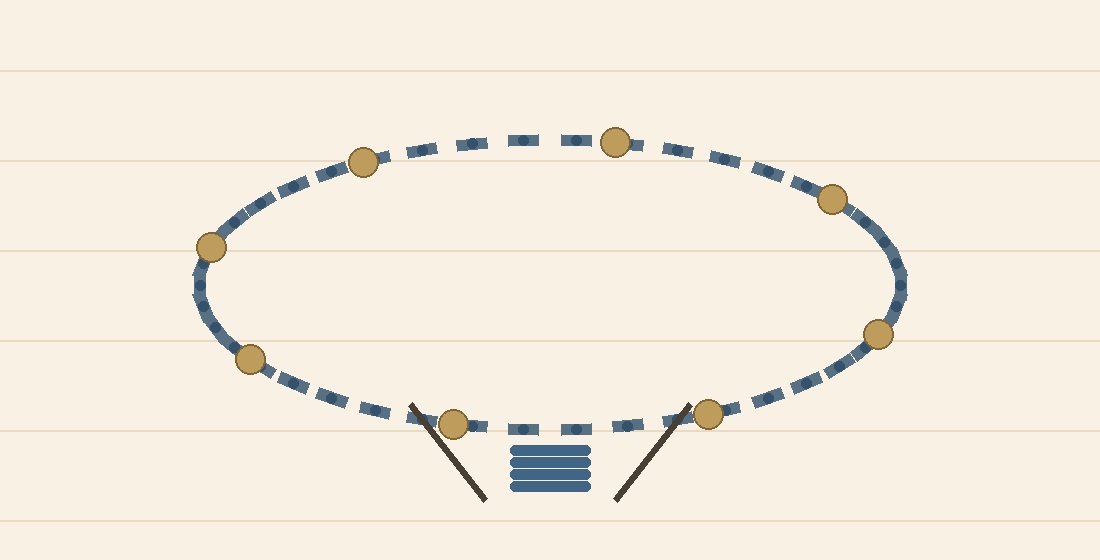
Spiral macramé bracelet with beads

The steps in words

  1. Prepare the core. Place the core cords in the centre and secure them so they stay lightly tensioned.
  2. Add the working cord. Its two ends work on the left and right of the core cords.
  3. Always start from the same side. For example, make a “4” with the left cord over the core cords.
  4. Make the pass. Bring the right cord over the left end, under the core cords and out through the loop of the “4”.
  5. Tighten and repeat the same movement. Do not mirror it. Starting from the same side every time is what creates the spiral.
  6. Let the spiral develop. Keep an even tension and the pattern will twist naturally.
  7. Add beads. Thread them onto the core cords, slide them up against the last knot, then continue knotting directly below.
  8. Make a sliding closure. Cross the core ends and make a short sliding section around them.
  9. Secure the ends. Finish with a small stopper knot or a bead.

Remember: the same half-knot from the same side, repeated = a spiral.

When all three are checked, the project is complete.

Two-person challenge

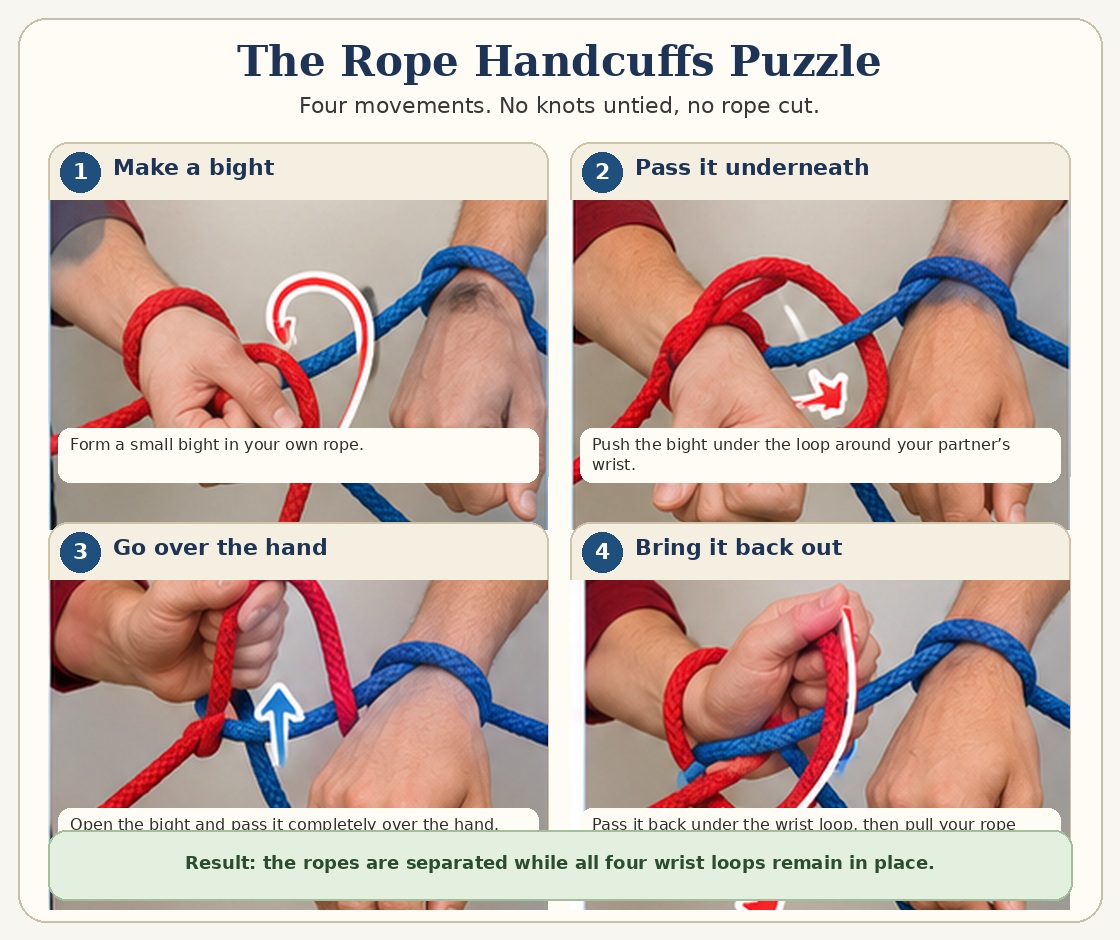
Two people, two ropes and four wrists attached. Your goal is to separate without untying a single end.

TWO-PERSON CHALLENGE · ROPE HANDCUFFS PUZZLE

The rope handcuffs

Set-up

You need two soft ropes about 1.2 to 1.5 metres long and a partner. Each person attaches one end of their own rope to each wrist. Before the second wrist is attached, the two ropes must be interlinked like two chain links.

Safety

Keep the wrist loops loose enough to slide a few fingers underneath. Never tighten the loops or pull sharply.

The rules

  • Do not untie either rope.
  • Do not cut the ropes.
  • Do not slip a hand out of its wrist loop.

Challenge: find a way to separate the two people completely.

When both boxes are checked, the challenge is complete.